
Simple Cardboard Animal Masks for Children's Parties

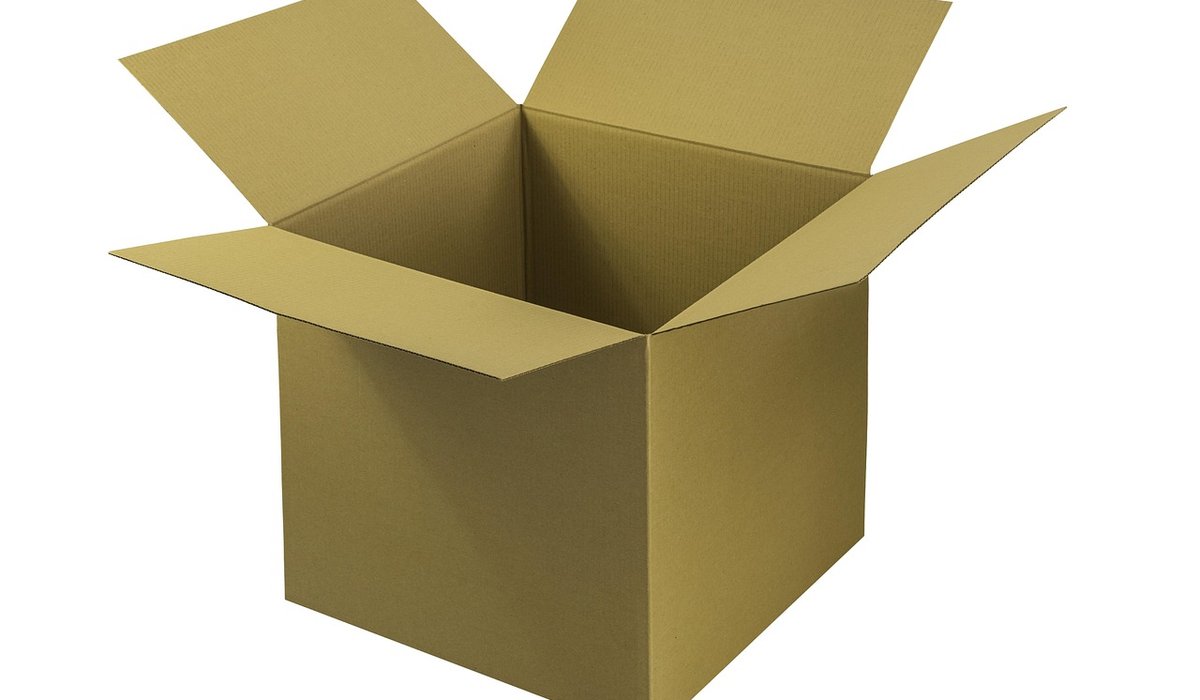
There is something quietly satisfying about turning a battered delivery box into a lion, a rabbit or a rather knowing fox. Cardboard animal masks are cheap to make, quick enough to hold a child's attention, and sturdy enough to survive a whole afternoon of party games. Best of all, children can do most of the work themselves — with a grown-up handling the fiddly cutting.
Why cardboard works so well for masks
Cardboard is stiff enough to hold a shape but soft enough to cut with ordinary household scissors, as long as you avoid the thick double-wall stuff. It takes paint and glue happily, and most homes have a steady supply arriving with the weekly shop. If a mask gets squashed or caught in a shower of rain, nobody minds — you simply make another one from the recycling pile.
- Corrugated cardboard from delivery boxes is ideal for the main face shape.
- Cereal-box card is thinner, which makes it perfect for ears, beaks and antennae.
- Nothing needs to be permanent, so mistakes are easy to shrug off and paint over.
What you will need
- A stack of clean, flattened cardboard with the sticky tape peeled off
- A pencil, a rubber and a sheet of A4 paper for the template
- Sharp scissors for the grown-up, plus a craft knife if you have one
- Elastic, roughly 45–50 cm per mask, or a length of string or ribbon
- PVA glue, sticky tape and a stapler
- Poster or acrylic paint in a few bold colours
- A wide flat brush, an old shirt or apron, and newspaper for the table
- Decorations: wool, cotton wool, tissue paper, felt scraps, feathers
- A hole punch or a skewer for threading the elastic
Drawing and cutting a simple template
The secret to a mask a child will actually keep on is to start with the head rather than the animal. Measure from the chin to the top of the forehead — around 18 cm for a typical five-year-old, 20 cm for an eight-year-old — and work to that. Fold a sheet of A4 paper in half, draw half the face shape along the fold, then cut and unfold. You now have a perfectly symmetrical template to draw around on the cardboard.
From that same basic shape you can create a whole zoo. Round off the cheeks for a bear or a cat, pull the top into two long ovals for a rabbit, taper it to a point for a fox, and widen the jaw for a frog. Cut the main face out slowly, turning the cardboard as you go rather than forcing the scissors through a corner.
Next, mark the eye holes. A 2p coin or a bottle top makes a neat guide. Position them roughly a third of the way down the face and ask the child to hold the mask up and check they can see clearly before you cut. Cut slightly wider than tall ovals, and remember that a generous hole is far safer than a mean one.
Painting and decorating
Bare corrugated card drinks paint like a sponge, so brush on a thin coat of white emulsion or watered-down PVA glue first and let it dry for twenty minutes. Everything you paint afterwards will look brighter and you will use far less of it.
Work in two thin coats rather than one thick one, and let the first dry before adding the second. Keep the design simple: a base colour, a paler muzzle or chest, then the details. Add stripes to a tiger with a thin brush, dot a ladybird's back with a fingertip dipped in paint, or sponge on patches for a cow.
- Wool makes an excellent mane, tail tuft or pair of whiskers.
- Cotton wool transforms a plain oval into a convincing sheep.
- Tissue paper scrunched and glued on gives scales and feathers real texture.
- Felt scraps are ideal for inner ears, noses and tongues.
Fitting the elastic comfortably
Measure around the head, just above the ears and across the forehead, then add about 10 cm of slack so the mask sits slightly proud of the face rather than pressing against it. Cut the elastic to that length and punch a hole at each side of the mask, level with the eyes and about a centimetre in from the edge.
Thread the elastic through, knot it on the outside and slide the knot until the fit is right — a sliding knot means you can adjust it for different children. If you prefer to staple, fold a small strip of tape over each staple so it cannot pull through the card, and keep every staple firmly on the outside where it cannot scratch a cheek.
Before anyone puts a mask on, run a finger around the eye holes and the outer edge. A quick rub with the back of a spoon or a piece of sandpaper softens any rough corners, and a strip of masking tape along a torn edge makes it comfortable as well as tidy.
Party games and rainy-day ideas
Masks come into their own once the cake has been eaten. Line everyone up for an animal parade, or play a guessing game where each child gives one clue about their creature and the rest have to work it out. A safari hunt around the garden or front room works beautifully — hide soft toy animals and let the masked explorers track them down.
Musical statues becomes far funnier when everyone is lumbered with a lion's head, and a simple game of sleeping animals is a reliable way to bring the noise level down at the end of a party.
On a wet afternoon, keep a small box of part-finished masks and a pot of glue to hand. Children who have made their own mask will wear it for weeks, and there is a particular pleasure in seeing a plain brown box become something with whiskers and a personality of its own.

Joeby Ragpa
This template is so awesome. I didn’t expect so many features inside. E-commerce pages are very useful, you can launch your online store in few seconds. I will rate 5 stars.
ReplyAlexander Samokhin
This template is so awesome. I didn’t expect so many features inside. E-commerce pages are very useful, you can launch your online store in few seconds. I will rate 5 stars.
ReplyChris Root
This template is so awesome. I didn’t expect so many features inside. E-commerce pages are very useful, you can launch your online store in few seconds. I will rate 5 stars.
Reply